Setting Up Webhooks
Accessing the Kickoff Interface
- Navigate to the CrewAI AMP dashboard
- Look for the
/kickoffsection, which is used to start the crew execution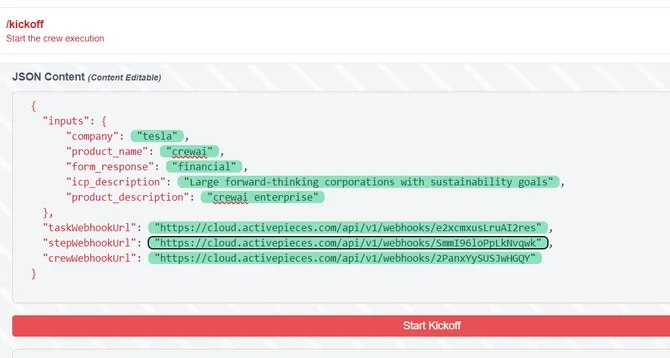
Configuring the JSON Content
In the JSON Content section, you’ll need to provide the following information:
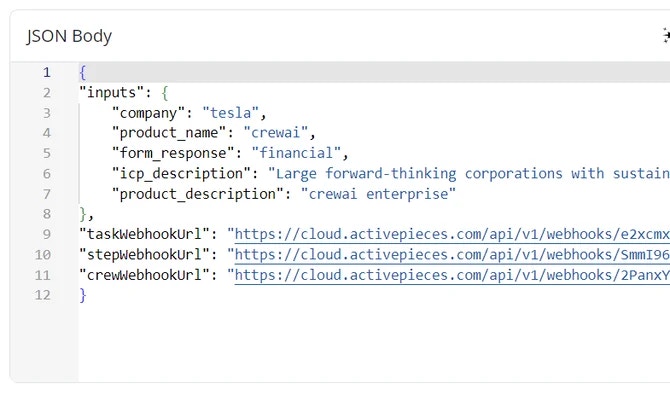
- inputs: A JSON object containing:
company: The name of the company (e.g., “tesla”)product_name: The name of the product (e.g., “crewai”)form_response: The type of response (e.g., “financial”)icp_description: A brief description of the Ideal Customer Profileproduct_description: A short description of the producttaskWebhookUrl,stepWebhookUrl,crewWebhookUrl: URLs for various webhook endpoints (ActivePieces, Zapier, Make.com or another compatible platform)
Integrating with ActivePieces
In this example we will be using ActivePieces. You can use other platforms such as Zapier and Make.comTo integrate with ActivePieces:
- Set up a new flow in ActivePieces
-
Add a trigger (e.g.,
Every Dayschedule)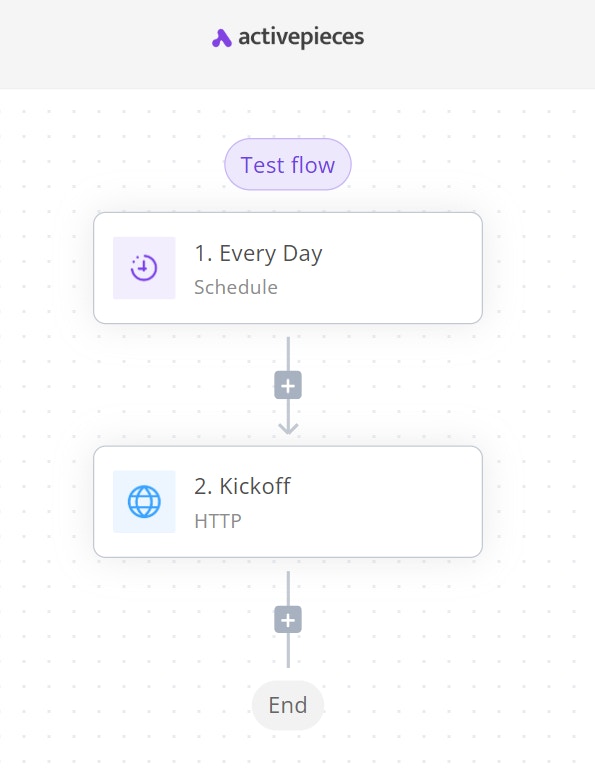
-
Add an HTTP action step
-
Set the action to
Send HTTP request -
Use
POSTas the method - Set the URL to your CrewAI AMP kickoff endpoint
-
Add necessary headers (e.g.,
Bearer Token)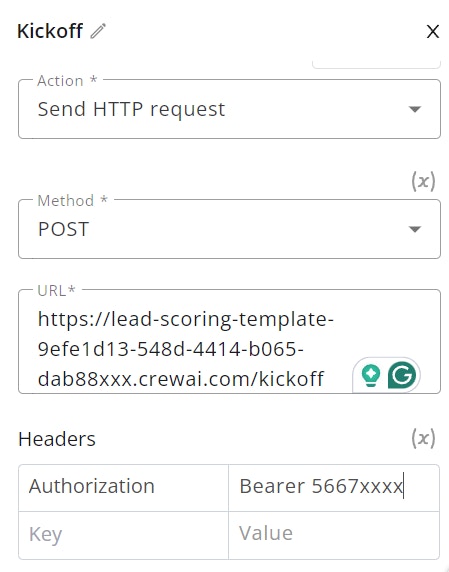
-
In the body, include the JSON content as configured in step 2
- The crew will then kickoff at the pre-defined time.
-
Set the action to
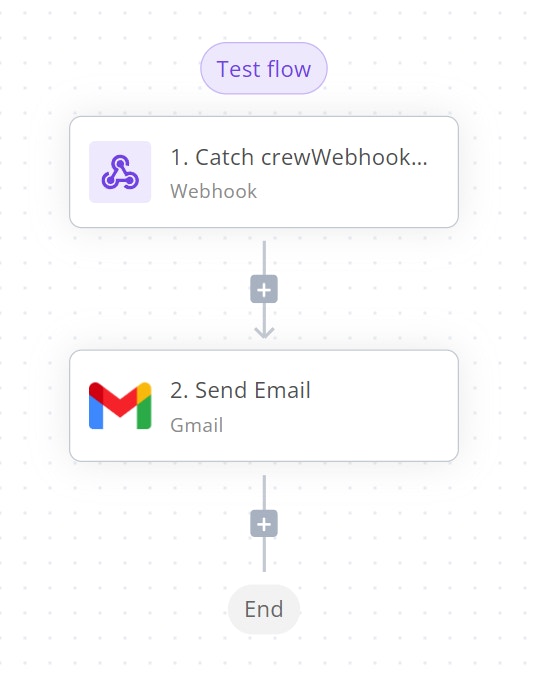

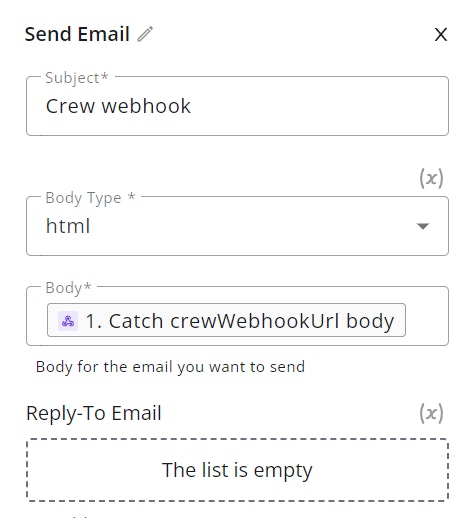
Webhook Output Examples
Note: Anymeta object provided in your kickoff request will be included in all webhook payloads, allowing you to track requests and maintain context across the entire crew execution lifecycle.
- Step Webhook
- Task Webhook
- Crew Webhook
stepWebhookUrl - Callback that will be executed upon each agent inner thought